Prerequisites
- A working Proxmox VE server.
- Cisco CML Personal license.
- Downloaded CML files from Cisco:
- CML Installer ISO (
cml2.9.1-7.isois the latest as of Dec 2025) - CML Reference Platform ISO (
refplate_2.9.1.iso)
- CML Installer ISO (
Step 1: Enable Nested Virtualization (Host Level)
CML requires nested virtualization to run router/switch nodes. Run this on your Proxmox host shell:
-
Check if enabled:
cat /sys/module/kvm_intel/parameters/nested(orkvm_amdfor AMD). It should returnYor1. -
If
Nor0, enable it:- Intel:
echo "options kvm-intel nested=Y" > /etc/modprobe.d/kvm-intel.conf - AMD:
echo "options kvm-amd nested=1" > /etc/modprobe.d/kvm-amd.conf
- Intel:
-
Reboot the Proxmox host or reload the KVM module.
Step 2: Upload CML ISOs
- In Proxmox, navigate to your storage drive (e.g.,
local). - Select ISO Images > Upload.
- Upload both the CML Installer ISO and the Reference Platform ISO.
Step 3: Create the Virtual Machine
Create a new VM with the following specific settings:
- General: Name the VM (e.g.,
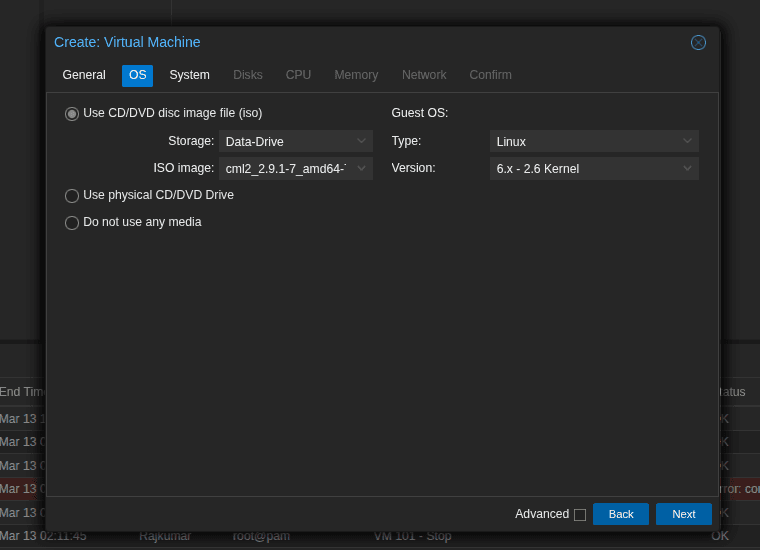
CML-Personal). - OS: Select the CML Installer ISO. Guest OS: Linux (6.x - 2.6 Kernel).
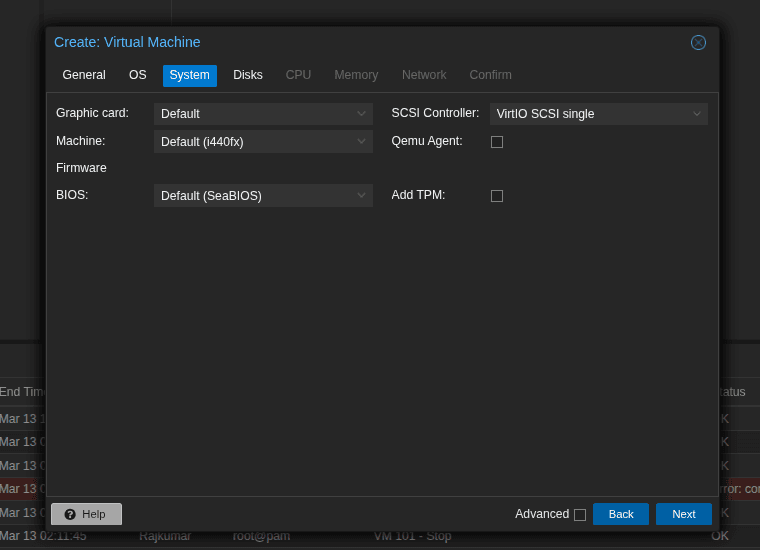
- System: Leave as default (OVMF, i440fx). I made mistake on image below had to change it afterward.
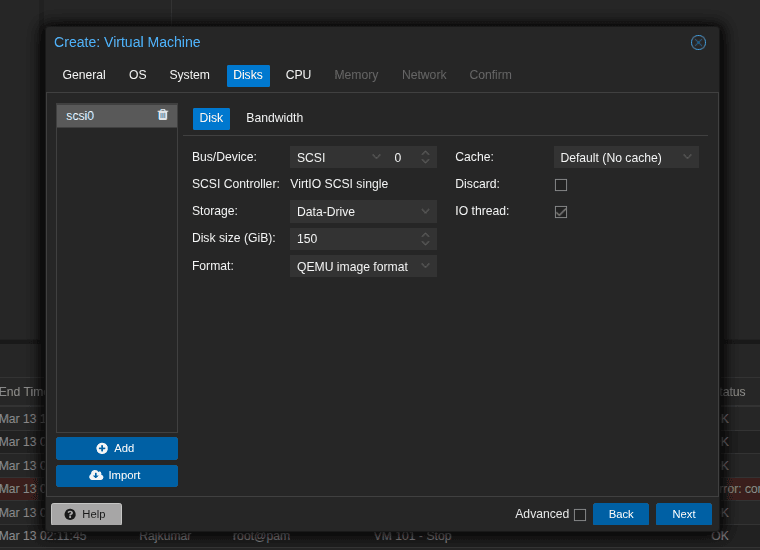
- Disks: Minimum 32 GB (SCSI or VirtIO). Note: 150GB+ is recommended if you have CML personal License to store any images and labs. I am using 150GB
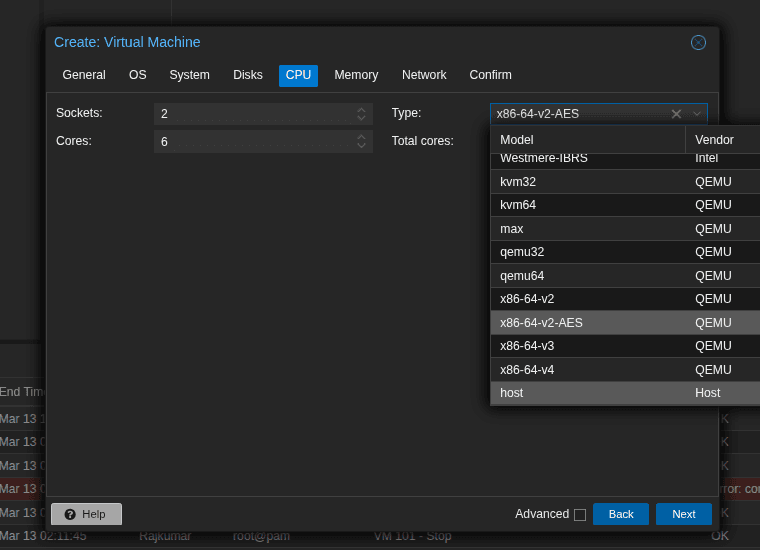
- CPU: Minimum 4 Cores. CRITICAL: Set the Type to Host (enables nested virtualization for the VM).
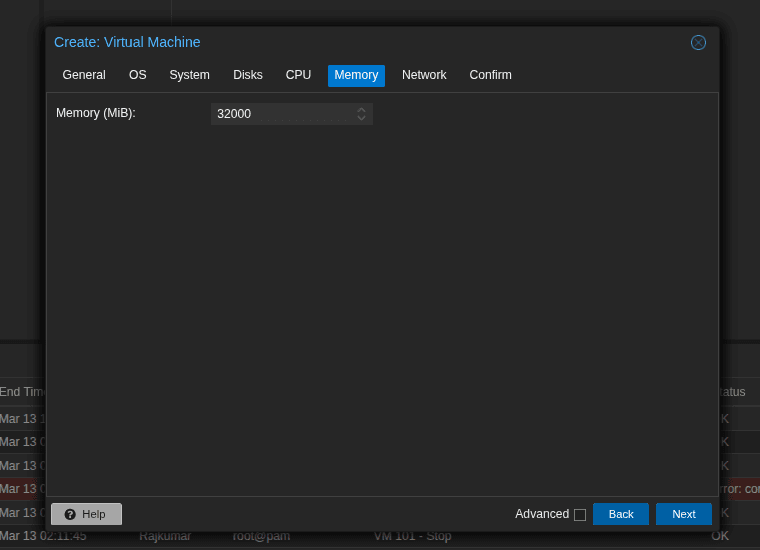
- Memory: Minimum 8192 MB (16384 MB+ highly recommended). I am using around 32 GB
- Network: VirtIO (Paravirtualized), bridged to your active network (e.g.,
vmbr0). Leaving it default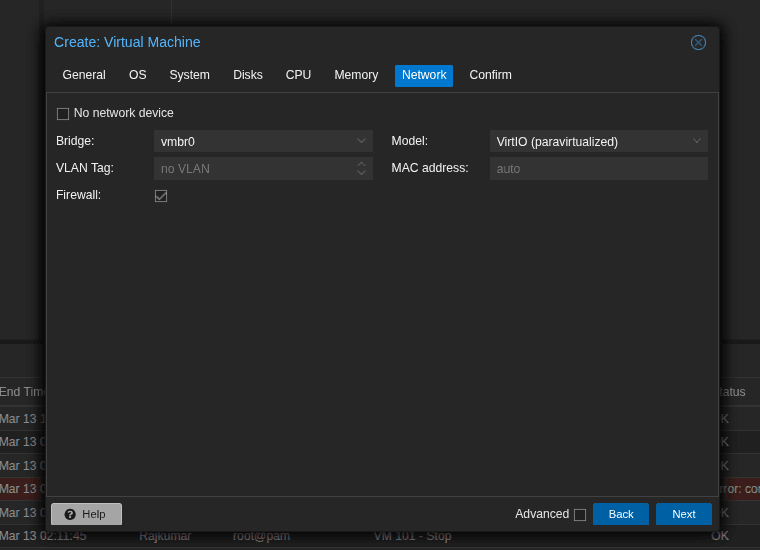
Step 4: Mount the Reference Platform ISO
Before booting the VM:
- Go to the VM's Hardware tab in Proxmox.
- Click Add > CD/DVD Drive.
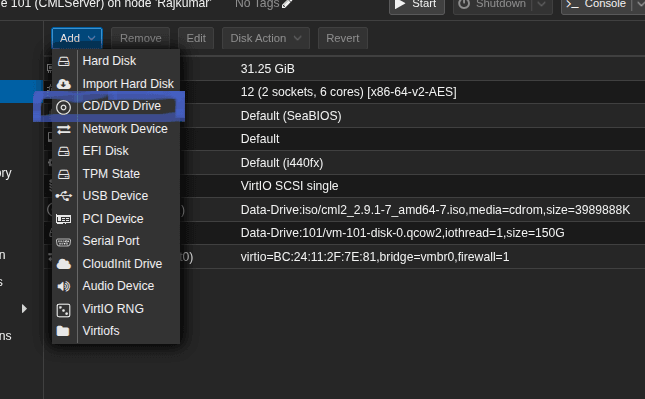
- Select the CML Reference Platform ISO (attach it to an available IDE or SCSI slot).
- Make sure to add a EFI disk
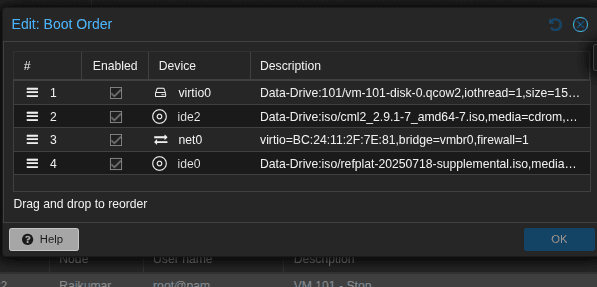
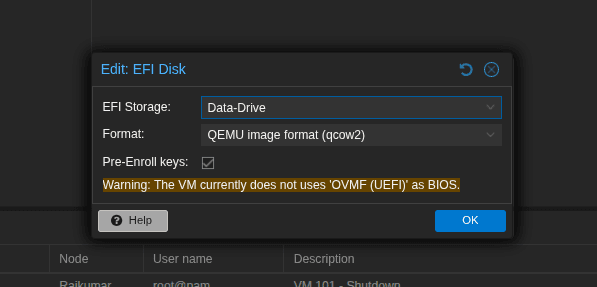 5. Make sure to check the boot order and everything checked
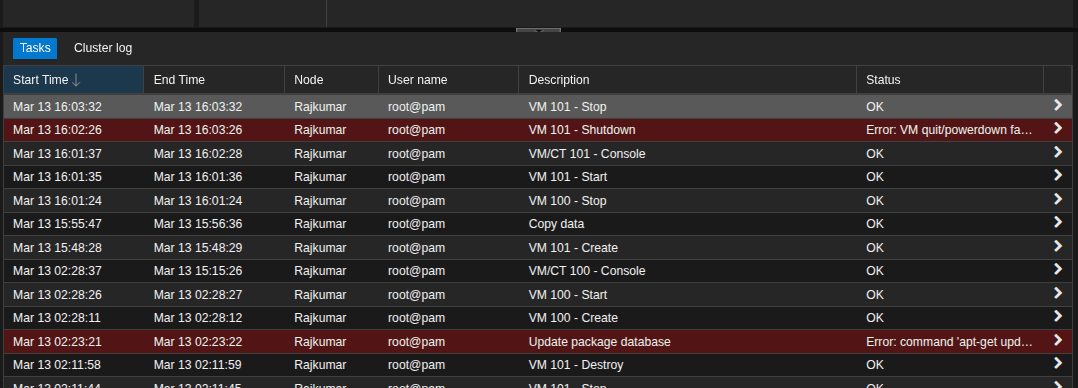
[!Tips] Keep eye of task Log list, if you made any mistake it will show it there
Step 5: Install CML
- Start the VM and open the Console.
- Follow the text-based setup prompts (set timezone, admin username/password, and networking).
- When asked about the Reference Platform, select Copy to Disk (this copies the images from the second ISO to your VM's hard drive).
- Once the installation finishes, the VM will provide an IP address on the console screen.
Step 6: Licensing and Access
- Navigate to
https://<CML-VM-IP>in your web browser. - Log in using the admin credentials you created.
- Go to Tools > Licensing and register the instance using your CML Personal token. ( They have moved the License to Cisco U site now)