Phase 1: Enable Nested Virtualization
EVE-NG requires nested virtualization to run node images.
-
SSH into your Proxmox host.
-
Verify current status by running:
Bash
cat /sys/module/kvm_intel/parameters/nested --- my output is Y_(If you have an AMD processor, replace
intelwithamd). If the output is
 Y(or1for AMD), skip to Phase 2. 'ENABLED OUTPUT lOOKS LIKE ABOVE -
Enable it by running the following commands:
For Intel:
Bash
echo "options kvm-intel nested=Y" > /etc/modprobe.d/kvm-intel.conf
modprobe -r kvm_intel
modprobe kvm_intel
For AMD:
Bash
echo "options kvm-amd nested=1" > /etc/modprobe.d/kvm-amd.conf
modprobe -r kvm_amd
modprobe kvm_amd
Phase 2: Create the Proxmox VM
- Download the EVE-NG CE 6.2.0-4 ISO from the official website and upload it to your Proxmox storage. (Via Web or Tftp )
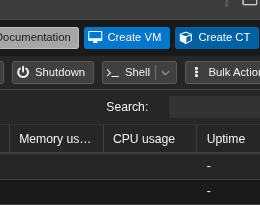
- Click Create VM in the Proxmox GUI.
- OS: Select the uploaded EVE-NG ISO. Set Type to
Linux.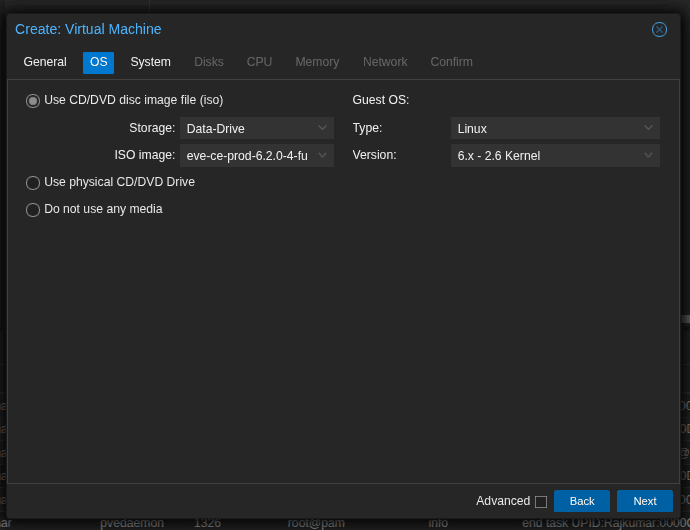
- System: Keep defaults.
- Disks: Set Bus/Device to
VirtIO Block. Allocate at least 50GB (100GB+ is recommended for storing multiple node images).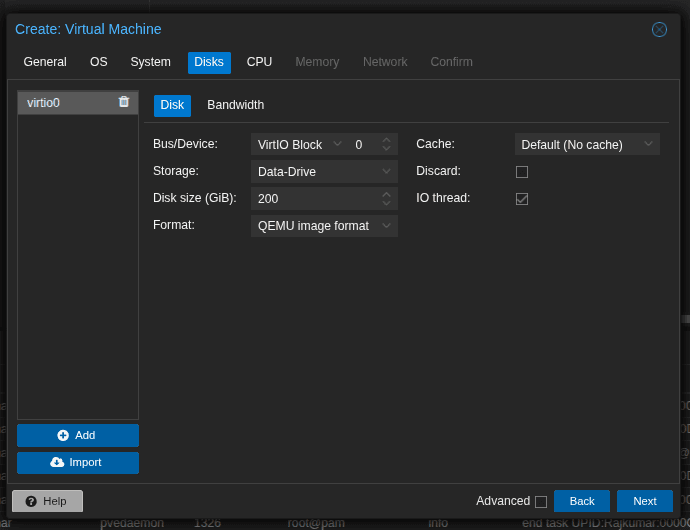
- CPU: Allocate your desired cores (minimum 4). Set the CPU Type to
host. This step is mandatory for nested virtualization to pass through to the VM.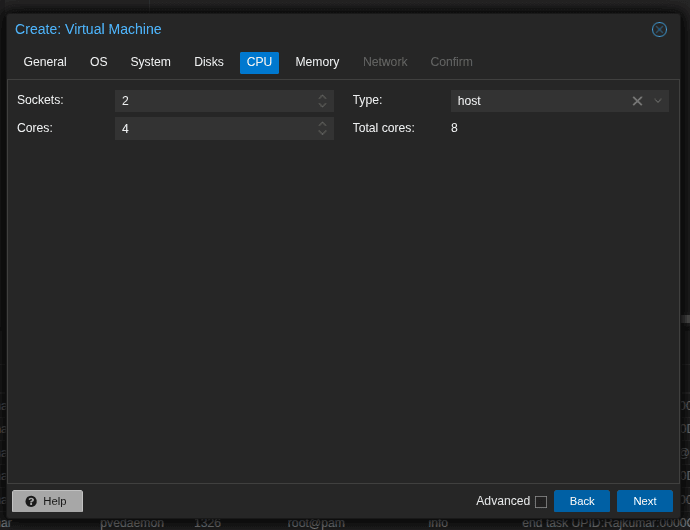
- Memory: Allocate a minimum of 8192 MB (8GB). _Note I have used Extra Be mindful of Your Resources on your server or else VM won't boot _
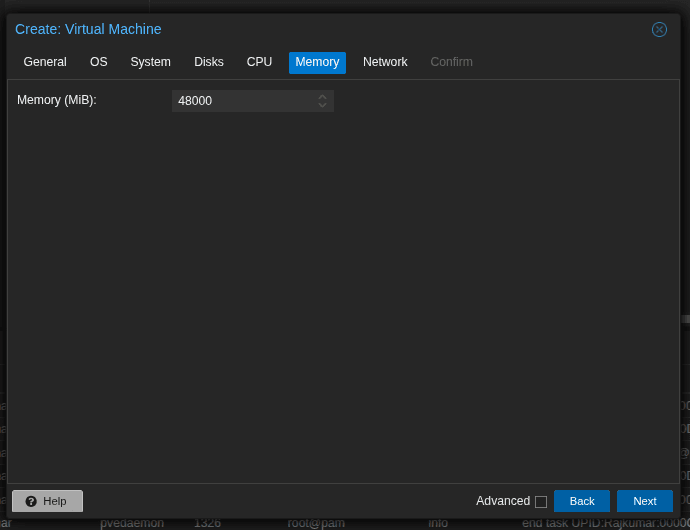
- Network: Keep it bridged to
vmbr0(or your specific lab network). and Model to Paravituralized
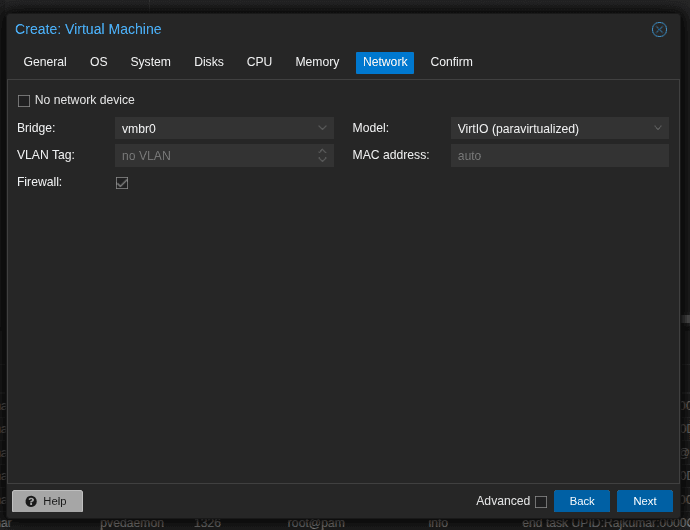
- Click Finish.
Phase 3: Install EVE-NG 6.2.0.4
-
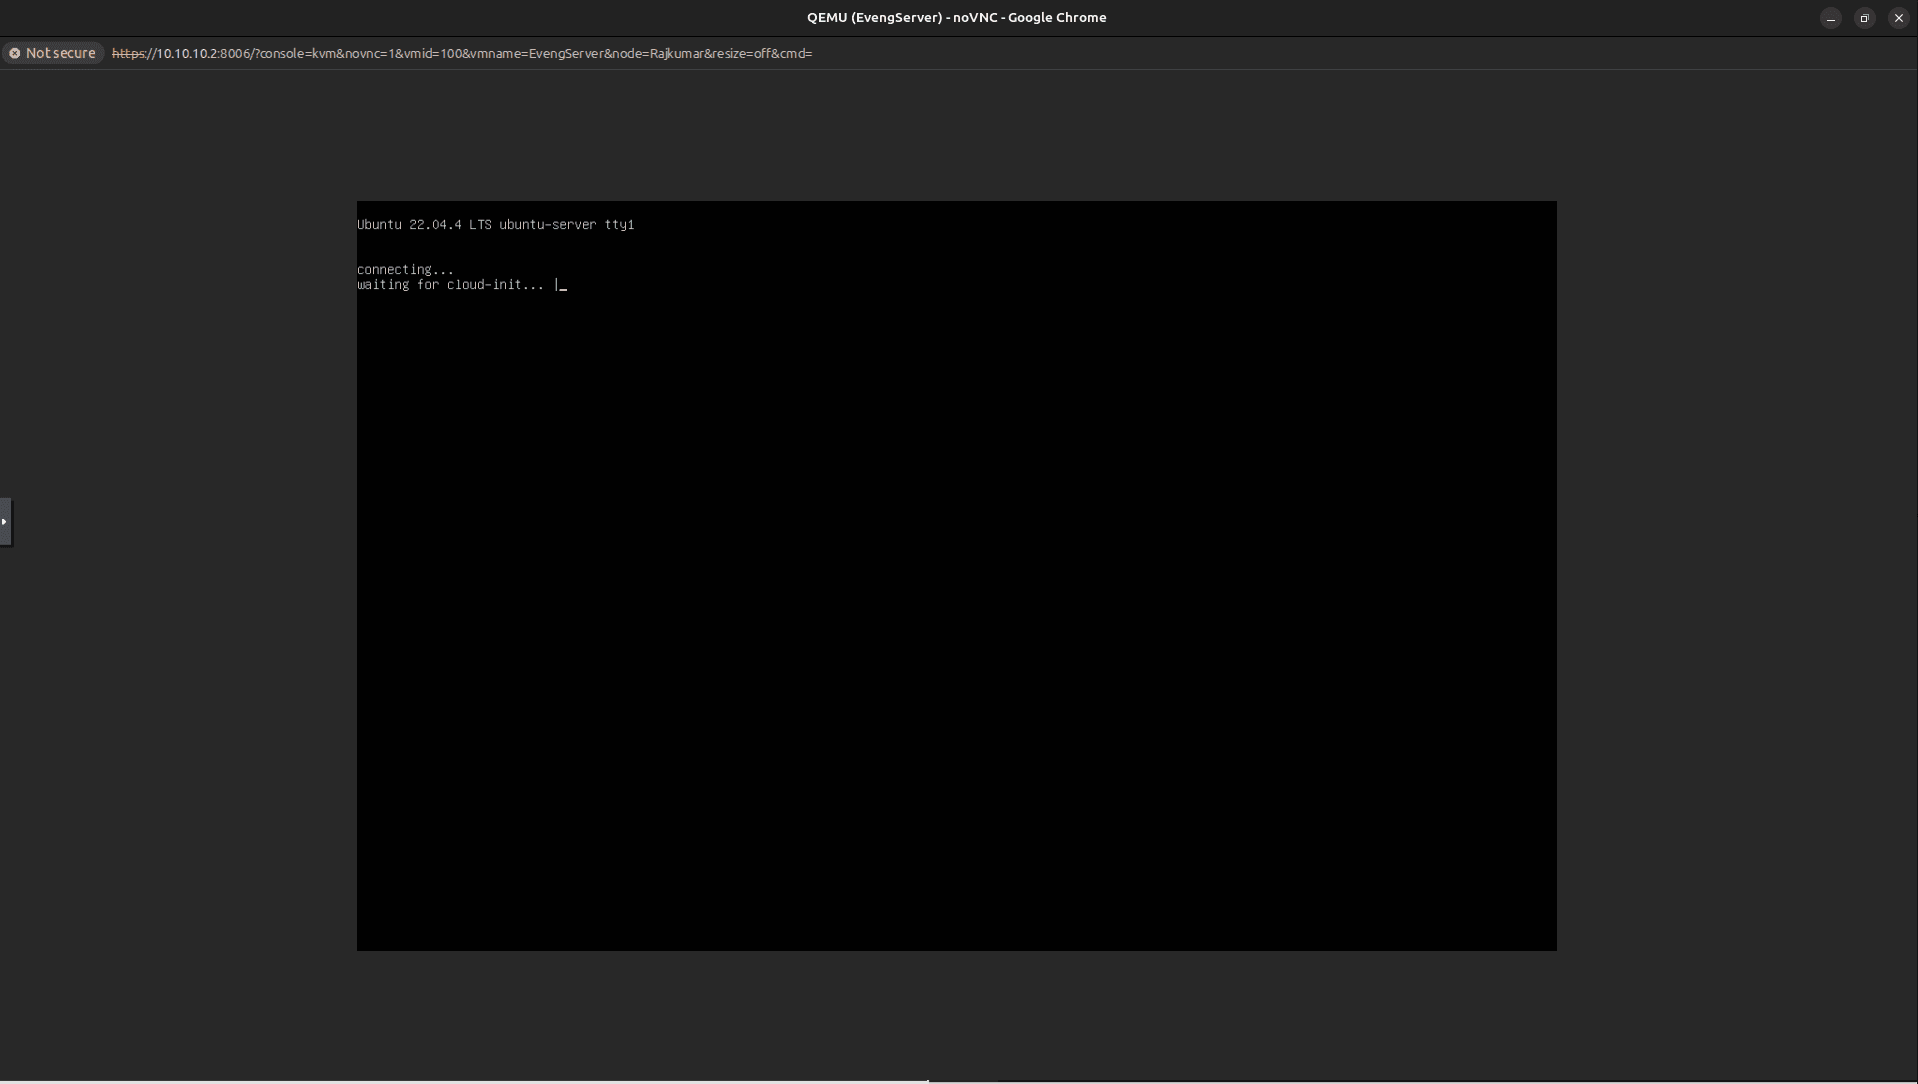
Start the VM and open the Proxmox Console.
-
At the boot menu, select Install EVE-NG Community 6.2.0-4. (Note: If this throws partition errors later, restart and choose the "Bare Metal" option instead).
-
Select your language and keyboard layout.
-
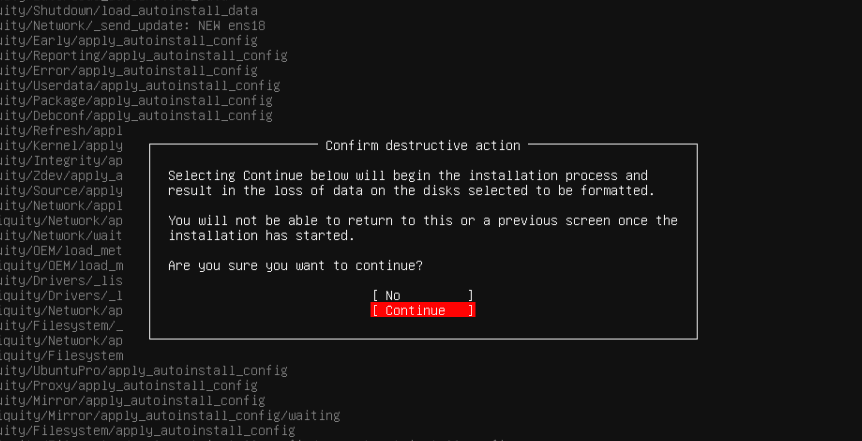
Accept the destructive warning to wipe the virtual disk and install Ubuntu/EVE.
-
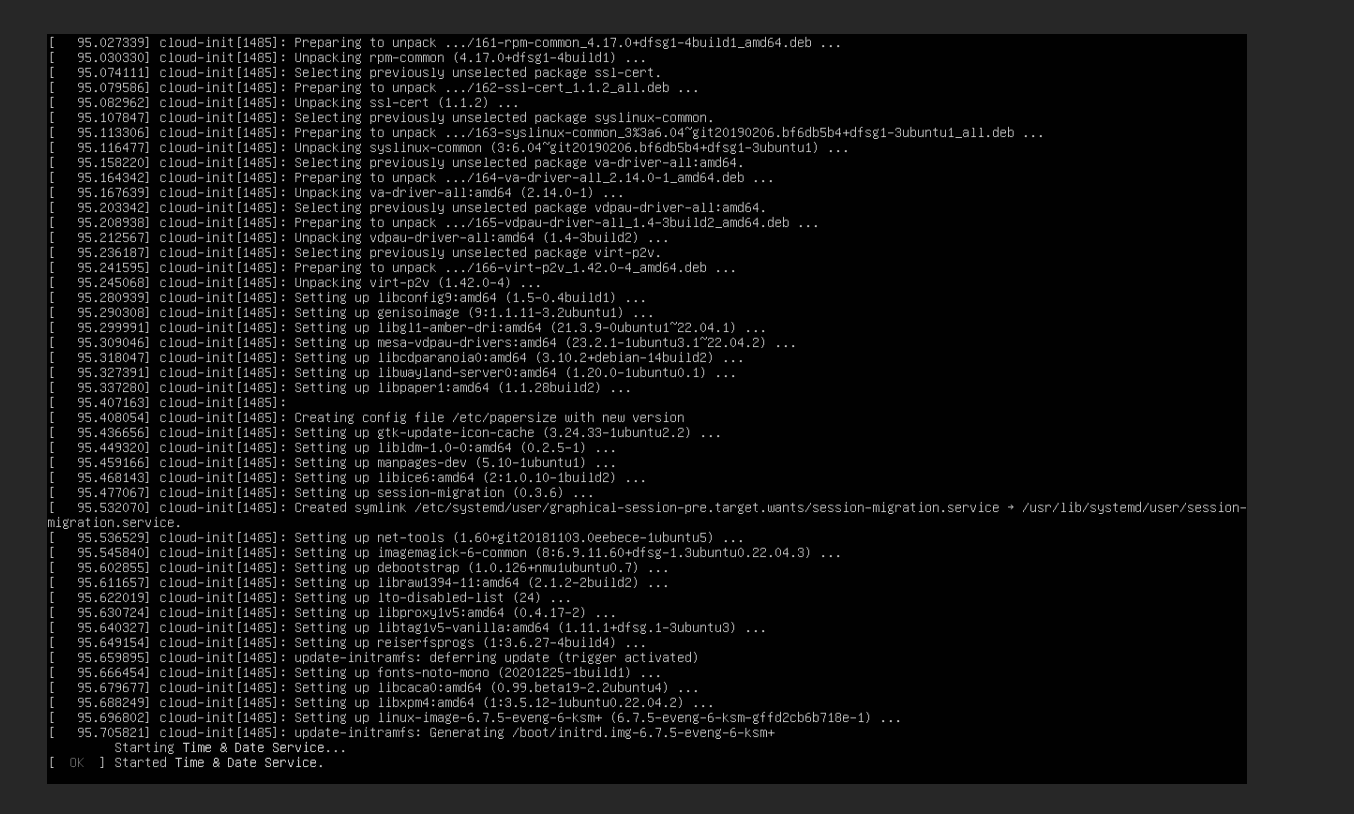
Wait for the installation to finish and the VM to reboot automatically. It may ask the credential provided below without rebooting
-
When the login prompt appears, do not use the web interface yet. Log into the console using the default credentials:
- Username:
root - Password:
eve
- Username:
-
The EVE-NG setup wizard will launch automatically. Follow the prompts to configure:
- Root password
- Hostname and Domain
- Network settings (DHCP or Static IP)
- NTP and DNS servers
-
The VM will reboot one final time to apply the configuration.
-
Navigate to the assigned IP address in your web browser. Log in to the GUI using the default web credentials (
admin/eveif you havent changed it during the setup).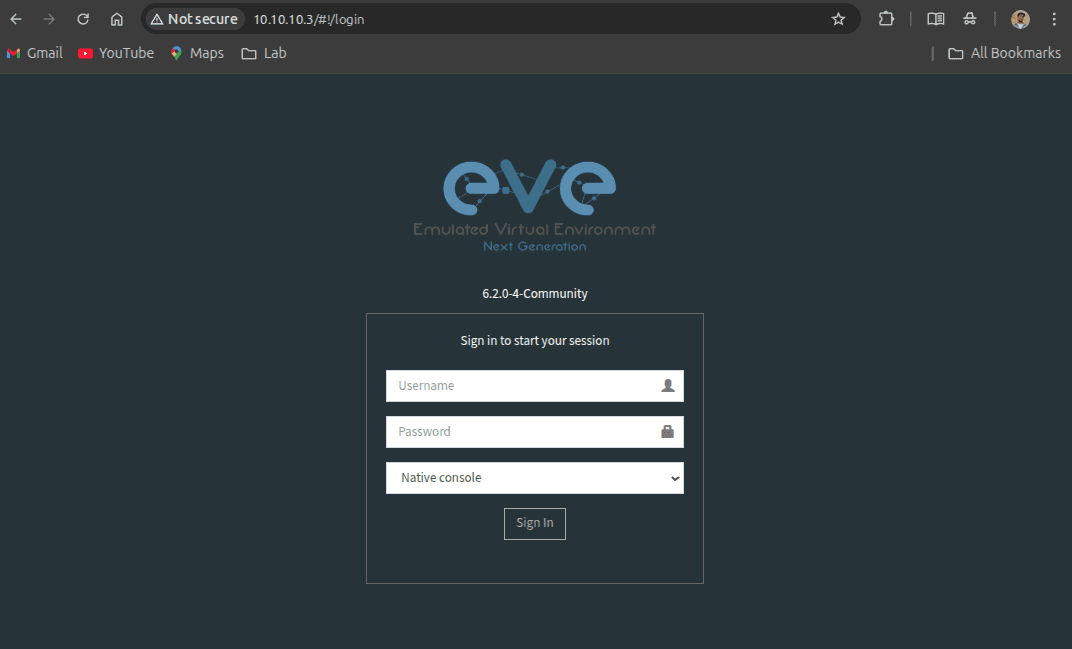
Yup thats all.